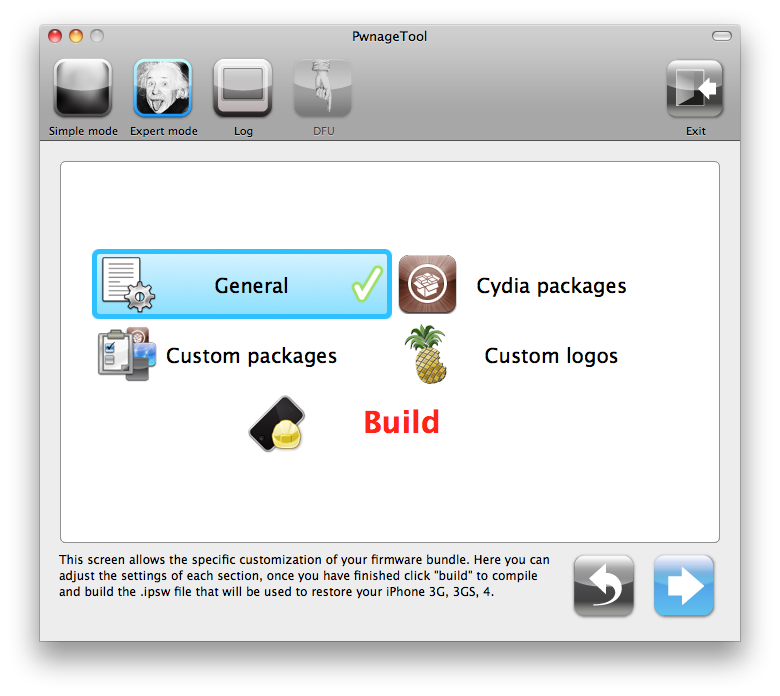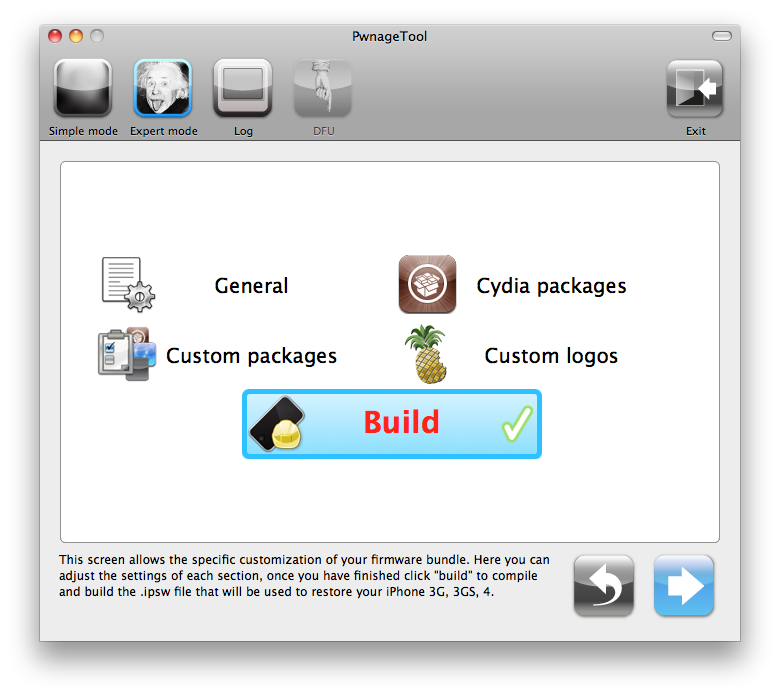


Please Follow the steps mentioned below:-
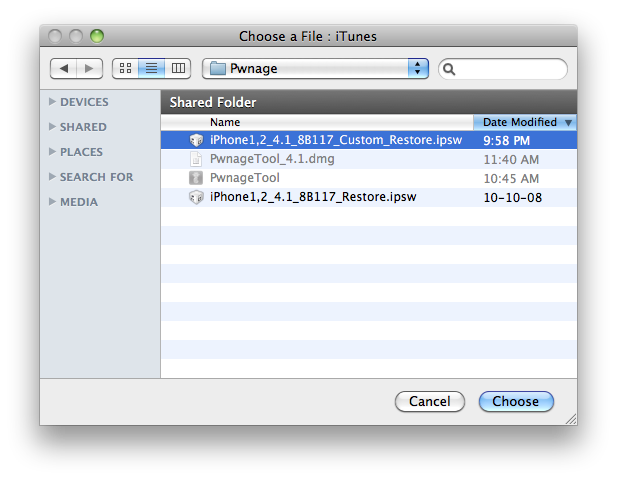
Step 5: Now click on the Select IPSW option. Point Redsn0w towards the IPSW file which you downloaded in Step 3. If you’re already running iOS 5.1.1, then point it towards that said firmware and so on. Click on Open when you’ve found the required IPSW.
Note: Before you begin, it’s necessary to note that this method will only work on devices which are running the 06.15.00 baseband i.e. iphone 3GS/3G.
Step 1: Download the latest version of Redsn0w, which is 0.9.14b1 (Windows/Mac), make sure that you have the correct version of said tool for your operating system.
Step 2: Unzip the contents of the downloaded compressed file and save to a familiar location on your PC or Mac.
Step 3: Download the IPSW file of iOS which is currently running on your device, use the search bar on the right-hand side of this post to hunt for the required files. Once downloaded and saved to a safe location, move to the next step.
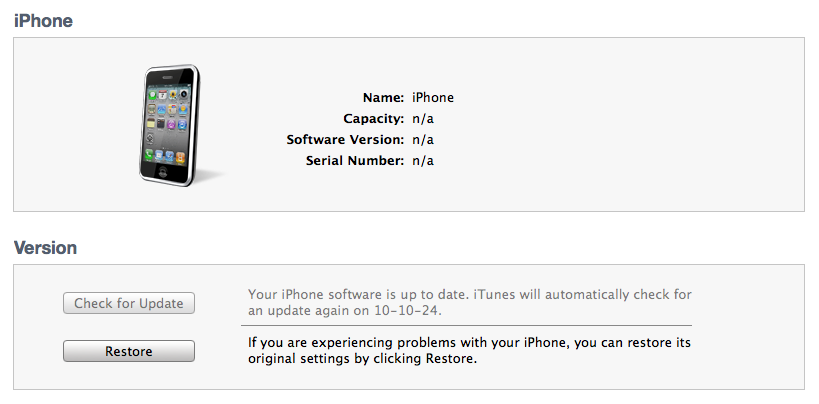
You can check which version of iOS you are running by going to Settings > General > About > Version.
Step 4: Launch Redsn0w and click on the Extras button on screen.
Step 5: Now click on the Select IPSW option. Point Redsn0w towards the IPSW file which you downloaded in Step 3. If you’re already running iOS 5.1.1, then point it towards that said firmware and so on. Click on Open when you’ve found the required IPSW.
Step 6: Redsn0w will now ask you whether if you have an older bootrom iPhone 3GS or a new one, read the on-screen instructions very, very carefully before you proceed, as it may potentially lead to the loss of data on your device, or may even brick your device’s radio for good.
Step 7: Now go back to the main screen of Redsn0w and click on the Jailbreak option. After preparing the jailbreak data – which takes a little while – you will be presented to a set of different options.
Step 8: Simply check the Downgrade from iPad baseband and Install Cydia options and click Next. If you’re already jailbroken and have Cydia installed then you do not have to check the Install Cydiaoption.
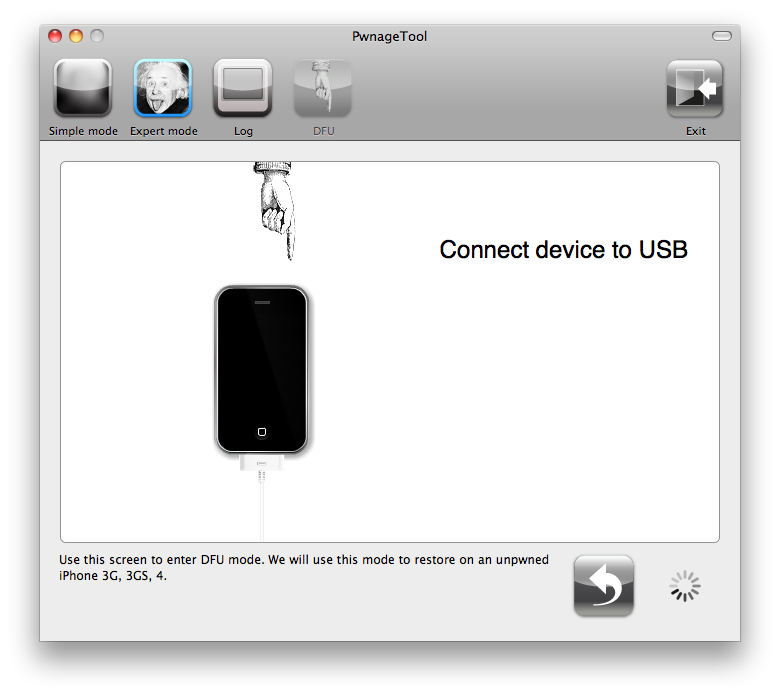
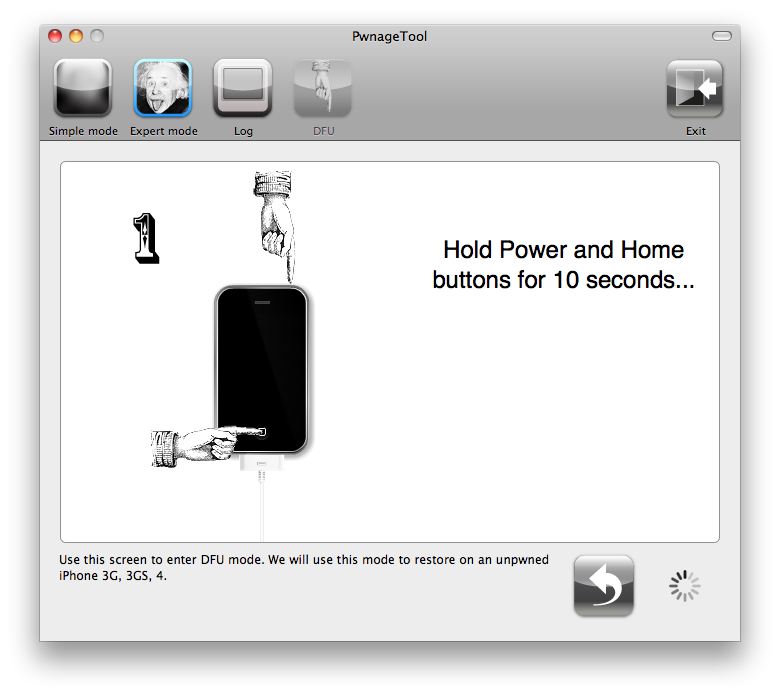
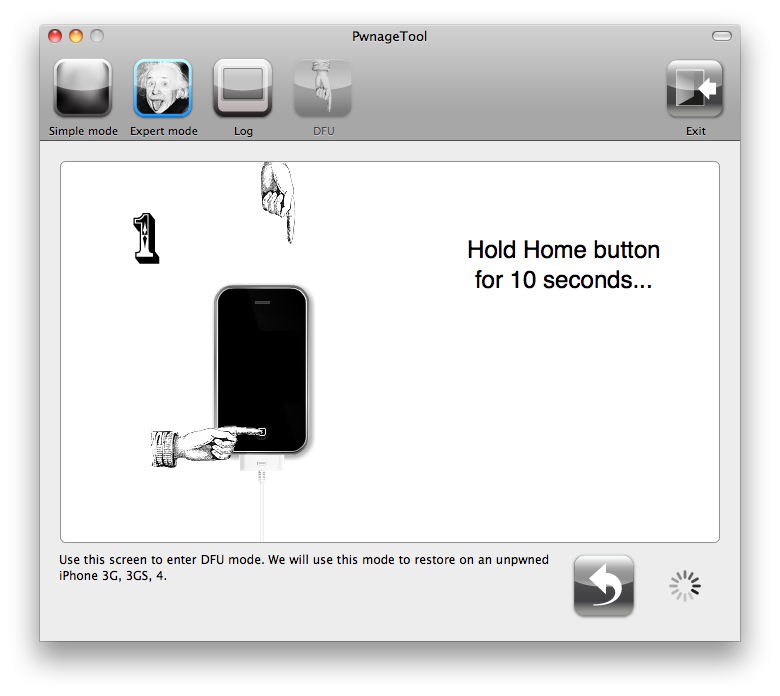
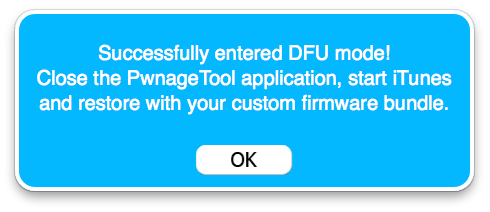
Step 9: At this point, make sure your device is powered off and unplugged. Read the on-screen instructions on how to put your device in DFU mode, don’t worry it might take a couple of tries to get it right. Once you’re ready, click Next.
Step 10: When you’re into DFU mode, Redsn0w will do it’s thing and proceed with the downgrade of your baseband, don’t be alarmed as this step might take a while, so be patient. And best of all; do not touch your device during the whole downgrade process.
Step 11: If you followed the steps correctly, your iPhone will reboot and will be on the unlockable 05.13.04 baseband. Simply launch Cydia and use the latest version of Ultrasn0w to unlock your device.
Note: Before you begin, it’s necessary to note that this method will only work on devices which are running the 06.15.00 baseband i.e. iphone 3GS/3G.