How to install Android 2.2.1 Froyo on iPhone using Bootlace without a computer. Bootlace 2.1 lets you install Android 2.2.1 on iPhone 3G / iPhone 2G without any need of a computer using an installer available in Cydia.

Requirements
- iPhone 3G: iOS 4.1, 4.0.1, 4.0.2, 4.0, 3.1.3 and 3.1.2, , 4.0, .1, 4.0.2.
- iPhone 2G: iOS 3.1.3 and 3.1.2.
- Your iPhone Must be jailbroken. Bootlace currently supports the following Jailbreak tools:
- PwnageTool
- RedSn0w
- Blackra1n
How to Install Android on iPhone using Bootlace
We assume that your iPhone 3G/2G is already jailbroken using the above mentioned jailbreak tools.
Step 1
Open Cydia. Go to Manage > Sources and add the following Source/repo:
http://repo.neonkoala.co.uk
Step 2
Once you’ve added the above mentioned repo, go to Search tab, search for Bootlace and install it.
Step 3
- When done, press the Home button to close Cydia. Now open Bootlace from your iPhone Springboard.
- Bootlace will download the kernel and patch it then.
- Once done, Reboot your iPhone.
Step 4
- Open Bootlace. Hit the OK button.
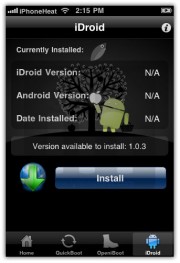
- Select iDroid tab at bottom and then hit the Install button.
Step 5
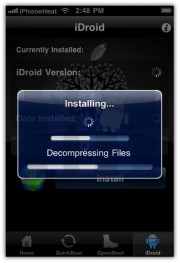
Tap the OK button. Bootlace will download and install android on iPhone.
Step 6
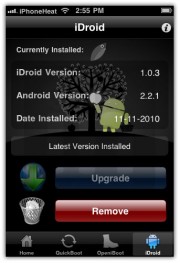
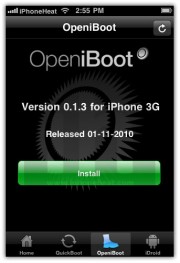
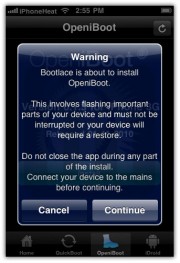
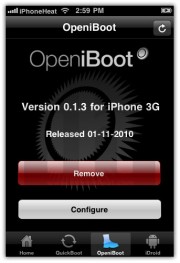
Once the Android installation process is completed, go to OpeniBoot tab at bottom and hit the install button.
Step 7
- Once done, tap on the Configure button.
- Make your choice, and hit save button.
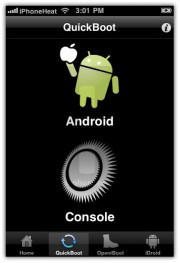
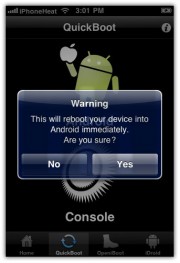
Go to Quickboot tab and tap on Android to boot your iPhone into Android 2.2.1 Froyo.
Future Android for iPhone updates can be found under iDroid tab (Step 4).




0 comments:
Post a Comment
Do leave your Email address for replying back.